What are Push Notifications?
Push notifications fuel customer engagement because they are a direct path of communication. A push notification is an alert that pops up on a mobile device, similar to an SMS text message.
Push Notifications are a great way to communicate instantly to your user base!
You can send them out to all of your app users, send them out to notification groups that people subscribe to, or send out a notification to a custom segment of people. With our Rich Message and Action Item system, you can send out a wider variety of notifications than before!
In this article, we’ll go over everything you need to know about Push Notifications.
Note: In order for push notifications to work, your app will need to be on a paid plan and live in the app stores.
What are some use cases of Push Notifications?
- If you have an eCommerce app, you can send out a notification to everyone letting them know of new items for sale in your app.
- If you have a school app, you can set up notification groups for each grade and send out grade-specific notifications to each group.
- If you’re building an app for your church, you can use push notifications to send out a link to that week’s sermon or daily scriptures.
How to access the Push Notifications:
If you would like to send out a push notification, go to Notifications >> New Notification and click on Push Notification
What are the Push Notifications primary functions and what are the steps to accomplish them?
Now that you know a little bit about push notifications, let’s go over the Push Notification Page in more detail section by section. The first step in setting up a notification is to select who you want to send it to in the Audience section.
Audience
This is the section where you specify whom you want to send your notification to. It has three options:
All Users
This will send the notification to all of your app’s users
Groups
This option allows you to send the notification to any of the Notification Groups that you’ve set up for your app.
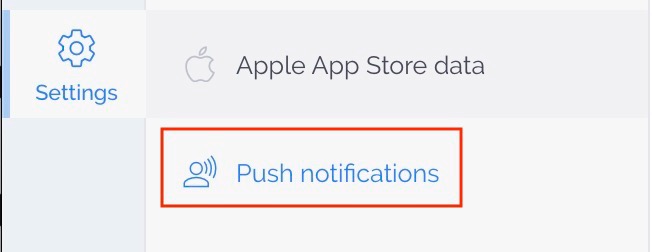
You can create your custom groups from the Settings -> Push Notifications section
Groups are great ways to create a segmentation of users based on different criteria such as interest, type of user, community, and more.
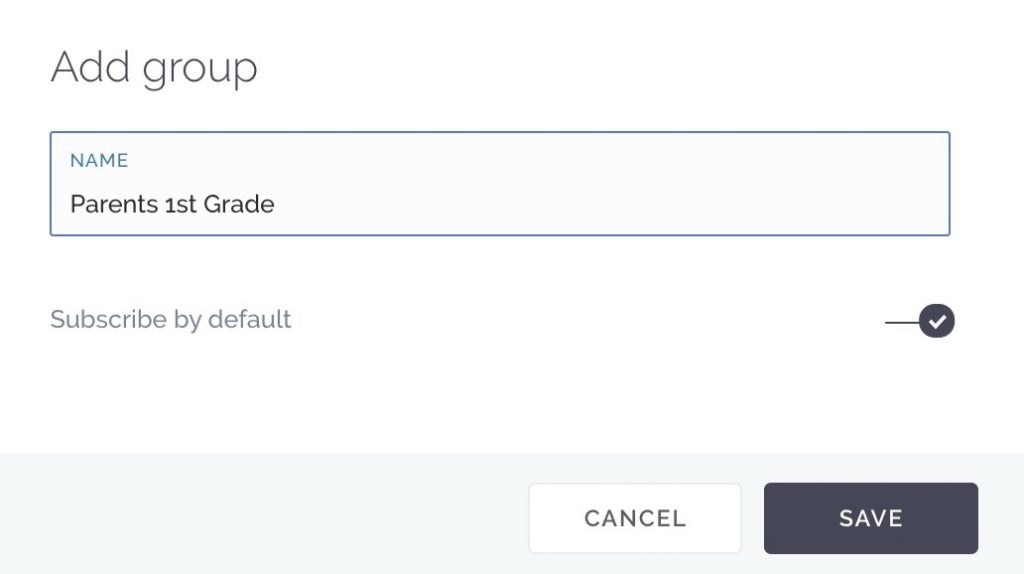
To create a new group just click on the Create Group button (+), type in the group name and choose whether the person who registers will be signed up to this group by default
When you select Groups, you’ll see a list with all of the groups that you’ve created for the app. Simply select the group that you’d like to send the notification to from this menu.
Push Message Content
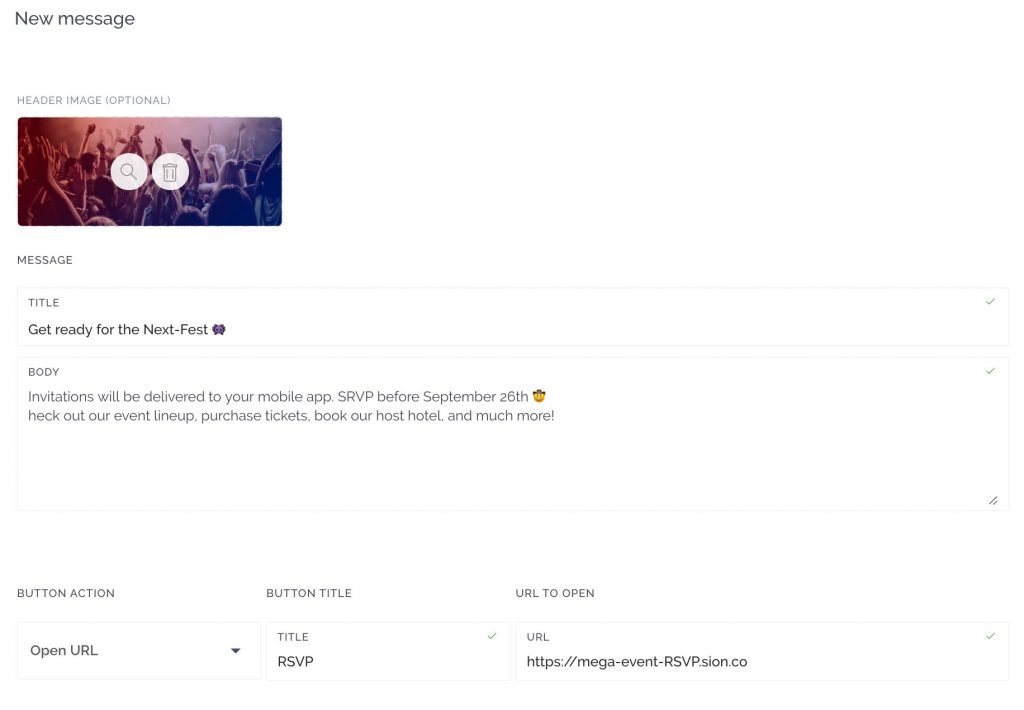
This section is where you begin to craft your awesome notification message! Let’s go through the different parts of the Message Content section.
Title
The Title section is where you give your notifications a title.
Note: Try keeping the title under 75 character limit to ensure all devices can display your message.
Message
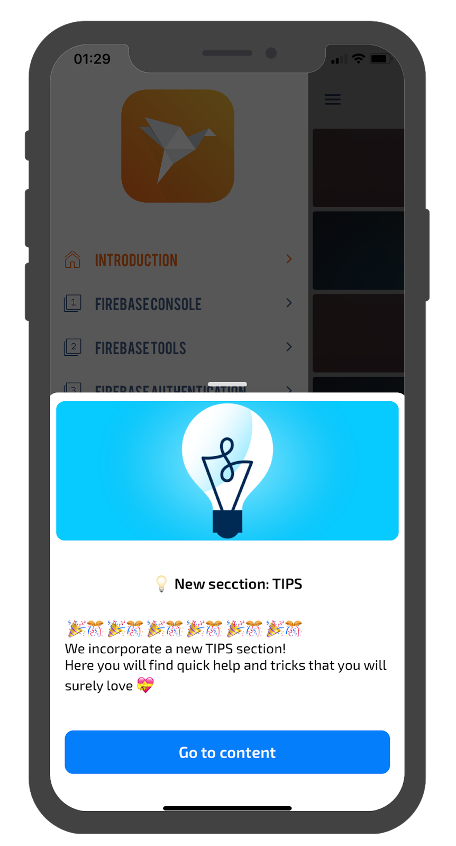
The Message section is where you can set up the message that displays on user’s lock screens when they receive the notification. Al will later expand to full view when you click on the message. Feel free to experiment with Emojis 😁📲 in your Message!
Action Button
The Button Action section allows you to add an Action Item such as a link to an action like a Web Content, A Call, or even opening a specific Article or section of your app. If you would like to add an Action Button Item to your notification, simply click on the Action button.
This will bring up the Action Item prompt which will allow you to set up your Action Item.
Schedule
In the When section you can choose to either send out your notification immediately or schedule it to go out at a later time.
The notification is by default set to “Now” which will send the notification out immediately. If you would like to send the notification out at a later time, click on “Schedule”. Then select when you want the notification to go out by adjusting the date and time.
Once you have set up your notification the way you like, simply click “Send Notification” to send your notification out immediately, or add it to the list of scheduled notifications.
What are some tips you should know about?
Having worked with apps for years, we’ve learned a thing or two. So, to both help your app stand out and accomplish your primary goals, here are some tips you should consider.
Pro Tip 1: Create Notification Groups
Setting up groups helps ensure that your users are getting notifications directed more for them, rather than ones that do not apply to them.
Pro Tip 2: Don’t Bombard Your Users With Notifications
Nobody wants to be bombarded with notifications on their phone. Quality over quantity is great to remember when you’re sending out notifications.
Pro Tip 3: Create Engaging Notifications
Make sure your notifications are ones that people want to see.
When creating great push notifications, you should be able to answer 5 questions:
- What does your audience want?
- When would they want to receive notifications?
- Where is your user base located?
- Is your notification personal?
- What does the data say?
Follow our tips on creating Engaging Push Notifications